¶ Editing Hair Autosnap Bones to Improve Hair Fit for Bodytype
Use cases: Fixing hair clipping on certain heads for short races or for custom races.
Why only those two? Most NPCs are the tall types. So any edits you make to the base skeleton will affect every NPC!
Meanwhile, there are only a very small number of short race NPCs that you can speak to throughout game. If you don’t mind some NPCs rarely looking slightly off to improve the fit for your favorite head, then you can follow your dreams!
This will not work on Half-Orcs because Half-Orcs do not use autosnap hair.
¶ What you will need:
- Larian’s Official Toolkit (henceforth TK)
- A lot of patience for trial and error
This is something I learned how to do for my mod Gnome More Clipping and thought it would be helpful to share for personal edits or custom race edits.
You’re going to need a new project, whether you’re starting from scratch or plan on using Gnome More Clipping (GMC) as the base. If importing Gnome More Clipping, select the pak after clicking the Import button. All Kelo asks is that you do not claim the base work as your own if you choose to make the edits public and please link back to the original mod.
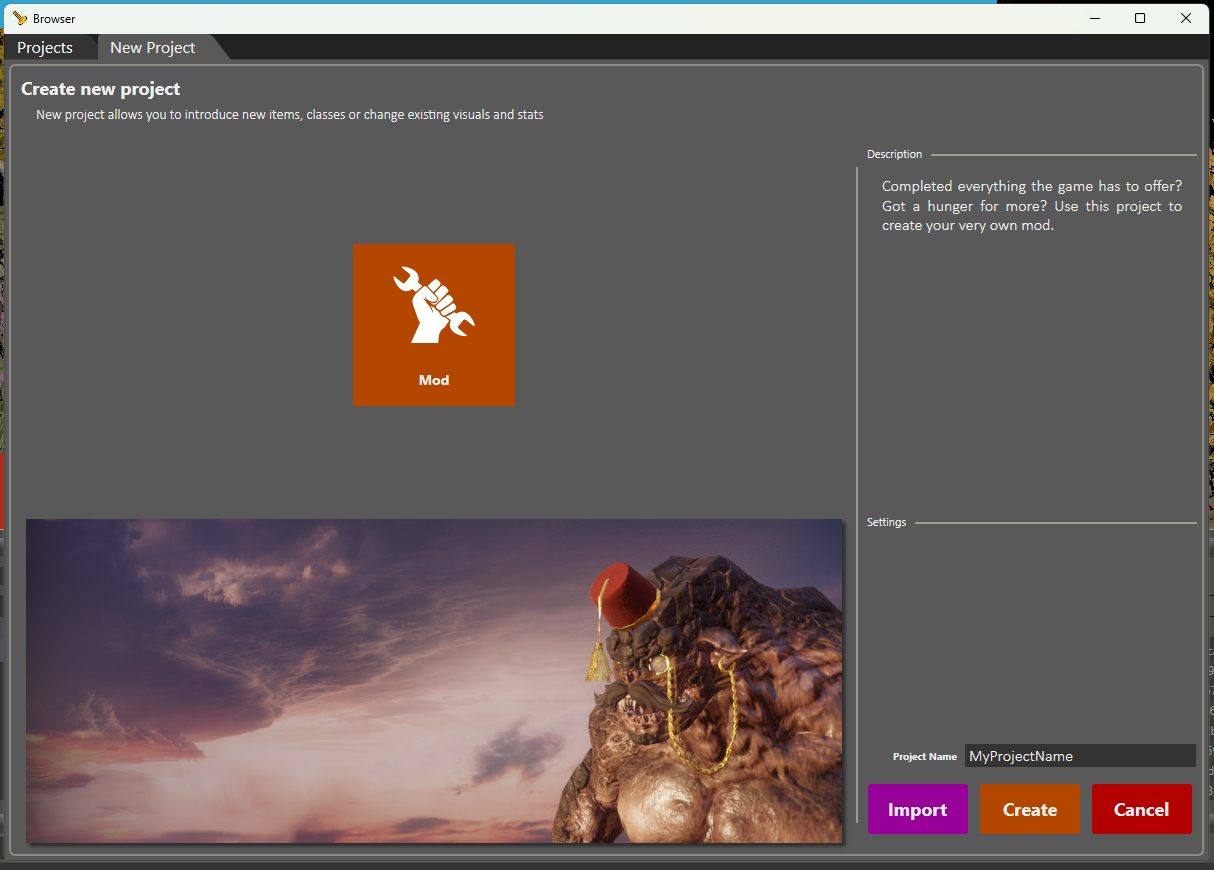
When the TK asks you to load a level, search for and load Character Creation SYS_CC_I. There are some caveats around testing and the TK crashing but we will cross that bridge when we get to it.
¶ Let’s begin!
Saving different stages of your toolkit project can be difficult. Personally I would pack it at various stages, rename the pak something descriptive and move it outside my mod folder. Then if I needed to go back to a different point, I would import the previously made pak.
If you import Gnome More Clipping to edit it, PLEASE back up your edited pak outside the mods folder. Because if you ever decide to use the official GMC mod, importing it will overwrite your changes due to the matching mod IDs.
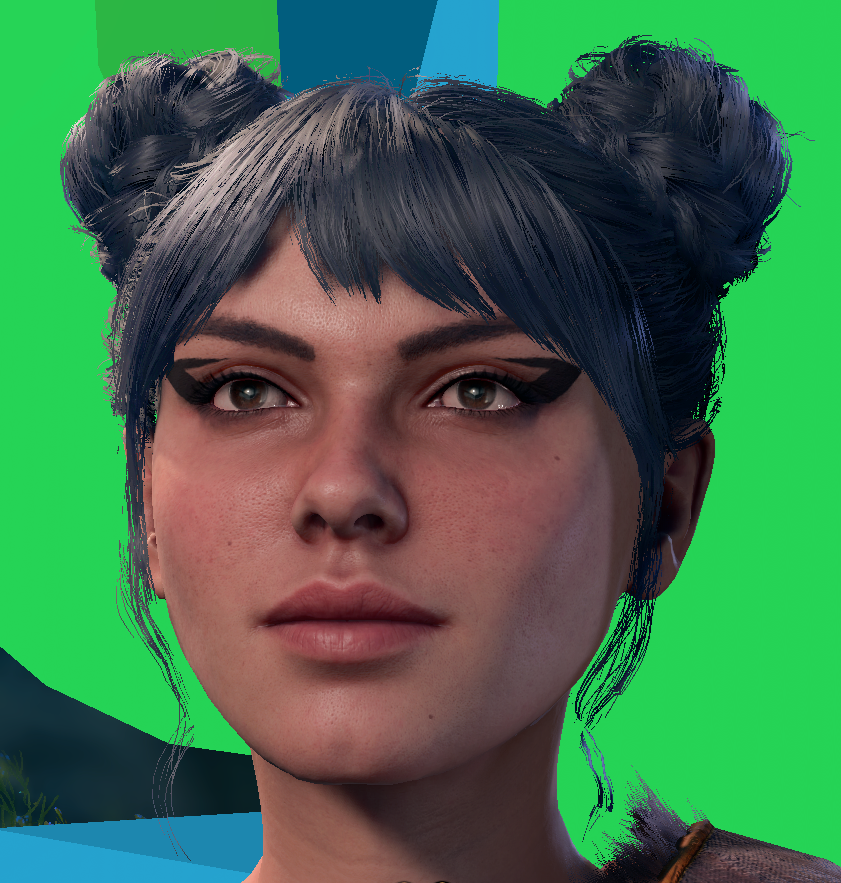
Identify the race you plan on editing. In this guide, we’re going to edit halfling Head 1 because it’s a great example of why you may want to make a personal edit. Our example hair for this mod is Ballerina Buns. But the edit will affect how all hairs fit on Head 1.
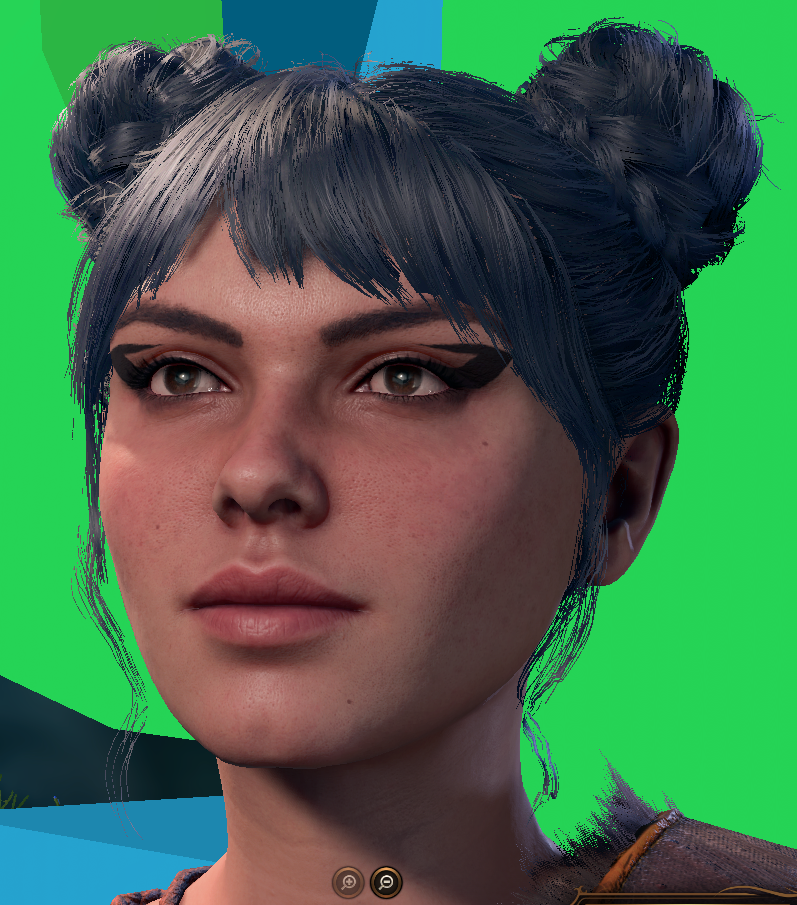
When we put Ballerina Buns on Head 1 we can see that the fringe is still clipping pretty noticeably into her left brow. This is even with GMC installed!!
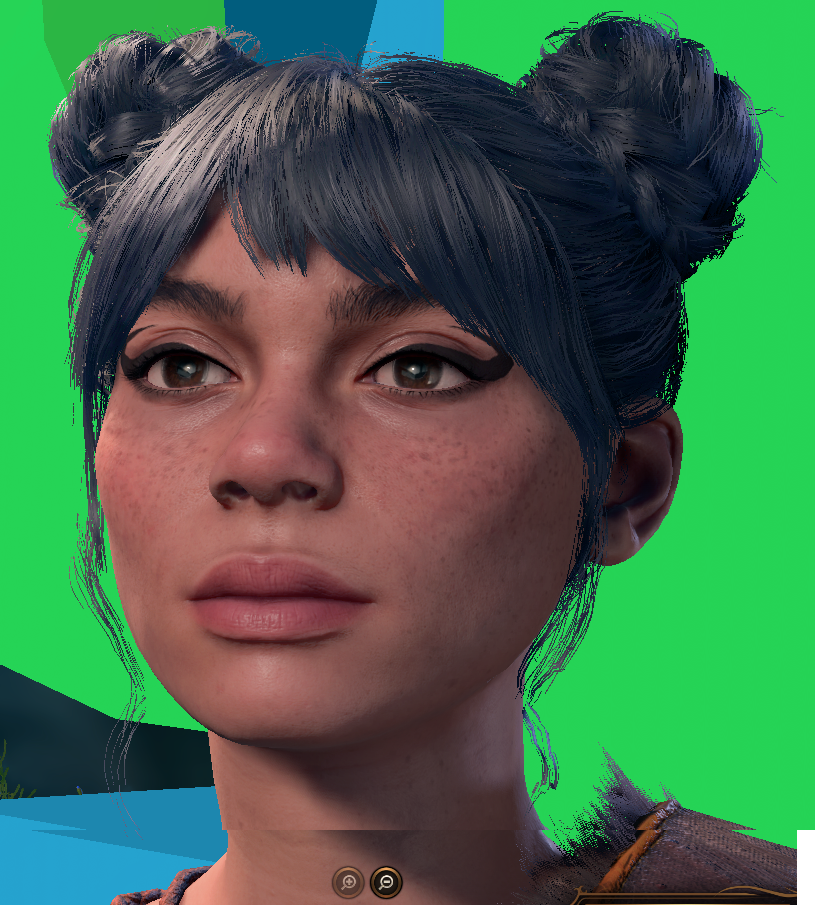
Here is what the fringe is suppose to look like on Head 3. Notice how it extends cleanly over the left brow.
Before we continue, please keep in mind that changes you make to the autosnap bones with one hair in mind, will affect the fit of ALL the hairs on ALL heads of that race.
¶ Selecting the Right Resource to Edit
-
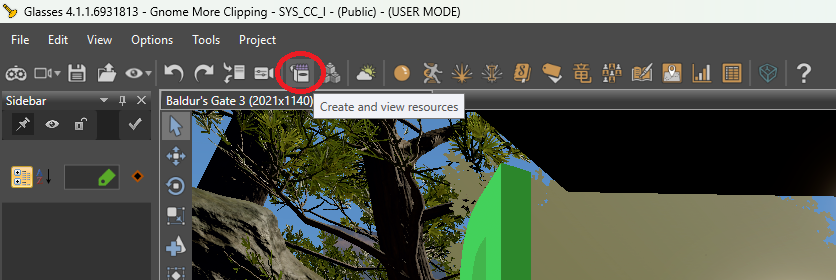
Open the Resource Manager by clicking on “Create or View Resources”
-
If starting from scratch: click the All folder in the top left. Then in the search bar above it, we are going to search for the SkeletonResource we need to edit. For Halfling BT1, that’s HFL_F_Base. To be absolutely clear: the Name is HFL_F_Base and the Type is SkeletonResource. Then you will need to Right Click + Select Override in Active Mod
For all races in vanilla, they follow the format of RACE_M/F_Base.
¶ Key:
- Dwarf - DWR
- Halfling - HFL
- Gnome - GNO
- BT1 - F
- BT2 - M
If using GnomeMoreClipping as the base, you can see the models Kelo already edited if you click GnomeMoreClipping > Assets. If you are starting from scratch, you will see your overridden files in the same place but the mod project folder name will be different.
¶ Editing the Skeleton
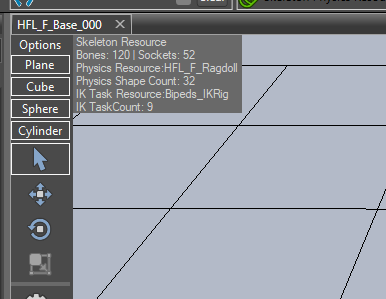
We want to edit the halfing, so we’re going to double click HFL_F_BASE_000. This will open the Skeleton Editor. You may want to adjust the visibility settings to make it easier to focus on only what you’re trying to change. Only the cube (Socket visibility) and teapot (Visual visibilty) are what you need.
In the left pane is the hierarchy explorer. You can edit all kinds of bones here but it’s not really recommended because it can affect animations and the like. Touch at your own risk! We only care about the hair bones, so in the search bar type hair. You should now see a much shorter list. This list consists only of autosnap bones for hair.
¶ Navigating the Editor Window
I admittedly still don’t know how to pan. If anyone figure it out, PLEASE SHARE.
- To rotate, left click + move the mouse.
- To zoom, middle mouse scroll wheel or right click + move mouse.
- To focus the selected socket: Ctrl + F
While I still don’t know how to pan, I managed to make do with getting the rotation I wanted then pressed Ctrl + F.
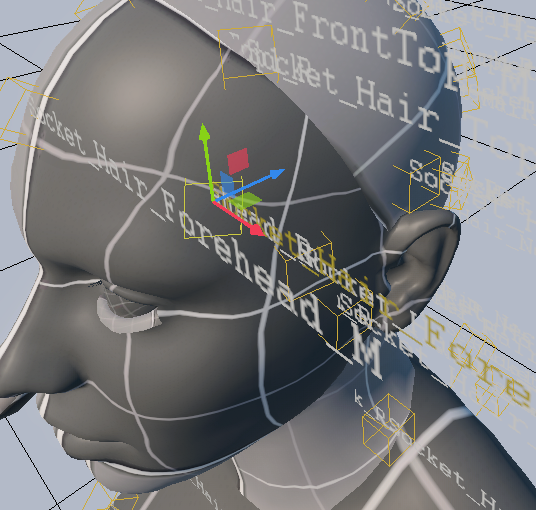
The sockets you will be most interested are likely the Sideburns, Temples, Foreheads, but you may find yourself needing to edit other bones. I had to edit Socket_Hair_Neck2_R on Halflings because it was misaligned for example. You can click either the boxes on the skeleton or the list to see which socket is which. There are four tools on the skeleton editor, but we will only be using the first 3.
¶ Editor Tools
- Select (arrow)
- Translate (moving box) - this allows you to move the socket along the XYZ axes
- Rotate (spinning box) - this allows you to rotate along the XYZ axes
- Scale (box in a box) - this allows you to change the size of the object (we won’t be using this. it also appears to be disabled for hair bones.)
¶ How to Make Changes
To fix the fringe on Ballerina Buns/others, we will probably need to edit the Forehead bones. It could be the temple bones, but we will have to experiment to see.
There are three Forehead bones. Left, Right, and Middle. We will probably end up needing to edit all of these to maintain a consistent look, especially for other hairs that have full bangs like Portrait Model.
Hint: Left/right reference to anatomy is always in relation to the owner of the body/the body itself. The bones are labeled in this way. For example, when you look at another person, the eye that is on the righthand-side from your perspective is actually their left eye.
Let’s start with the left because it’s the worst. Select Socket_Hair_Forehead_L. When you select a bone, you will see the right pane, the properties explorer fill with some information. This includes the raw numerical values for rotation and position. These are especially useful if you find you need to make smaller adjustments than are possible by dragging with the Translate or Rotate tools, or if you are making sure your changes are completely symmetrical.
Now select the Translate tool. You will see 3 arrows pointing in different directions.
You can move the socket by clicking any of these arrows and dragging. You can also click the boxes to move freely, but I strongly advise against that. It is best to move things one axis at a time. Let’s not do anything just yet. Click the Rotate tool. You will now see a bunch of colored circles around the socket representing the three axes again. You may need to edit both these values to make sure the hair falls in a natural way. For more subtle edits, try just changing the rotation first.
You have to reload the CC level anytime you exit/enter play mode for some reason or it doesn’t work when you try to enter play mode for most testing.
BEFORE SAVING CHANGES!!
If you have loaded the CC level, make sure you RELOAD THE LEVEL (Ctrl + R or File > Reload Level) before you save your skeleton edits. Otherwise the TK may crash. Okay. Now it’s safe to save.
¶ Now what?
well, in this case, I think Head 1 has a larger forehead than the others. So in this case, I think the forehead bones might be too deep. So I am going to move the socket along the Z (blue) axis so it doesn’t sit as deeply into the head. It turns out that wasn’t enough… so I also lifted up along the Y (green) axis. It was very close… so then I adjust the rotation a little bit and voila! I edited both Left and Right forehead bones evenly and this is the result! (You can download the BT1 Halfling Head 1 specific vers. on GMC)
More hairs with fringe look better on Head 1 now! 
However… the other heads for halflings have also been affected! The image below is a good example. Look how much the fringe sticks out on this head!! (But we don’t meet many halflings, and you probably wouldn’t notice unless you went looking for it, so who cares lol)
